
How to Take Your Own Maternity Photos
I’ve been a selfie-tographer for many years now, having traveled, mostly solo, for so much of the past decade. After a few years of looking at photos that never had me in them, it became a priority to learn how to take my own photos. Naturally when I was pregnant, that extended to taking my own maternity photos.
There are so many benefits of taking your own photos. You can have as many photo shoots as you want, in as many backgrounds as you want, throughout all of the stages of your pregnancy. Plus, apart from your gear, it’s free.
With the right setup, you can do it all by yourself, too. Here’s everything you need to know if you want to take your own pregnancy and maternity photos:
The Gear
Taking your own photos doesn’t have to be complicated. All you really need is a camera and a tripod. Although you can take photos with your phone, I advocate doing so with a camera. No matter how good a phone camera is, it just can’t compare to a DSLR. It lacks the depth, color, and quality. Plus, you’re going to want that camera when your bundle of joy arrives!
I shoot with a Sony A7III S, but I’m also a professional whose job it is to take photos. Although this camera is amazing, it’s not necessary to get great maternity shots. I recommend the Sony A6000 to anyone who is starting out and wants to experiment with photography. It’s an excellent camera for a much lower price point.
Although you can make the stock lens work, we mainly used my 25-100mm lens, which I LOVE for most filming and depth-of-field photography (more on that later), and my wide angle.
You’ll also want a tripod if you’re truly taking all of the photos yourself or want to have your partner, if you have one, in the photos with you. I finally invested in a Manfroto after breaking many cheap Amazon tripods, but for something cheaper, feel free to shop a quality used one or go cheap if needed.
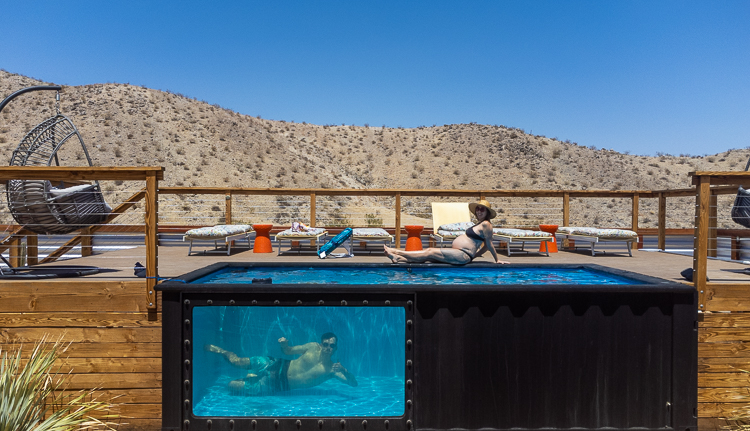
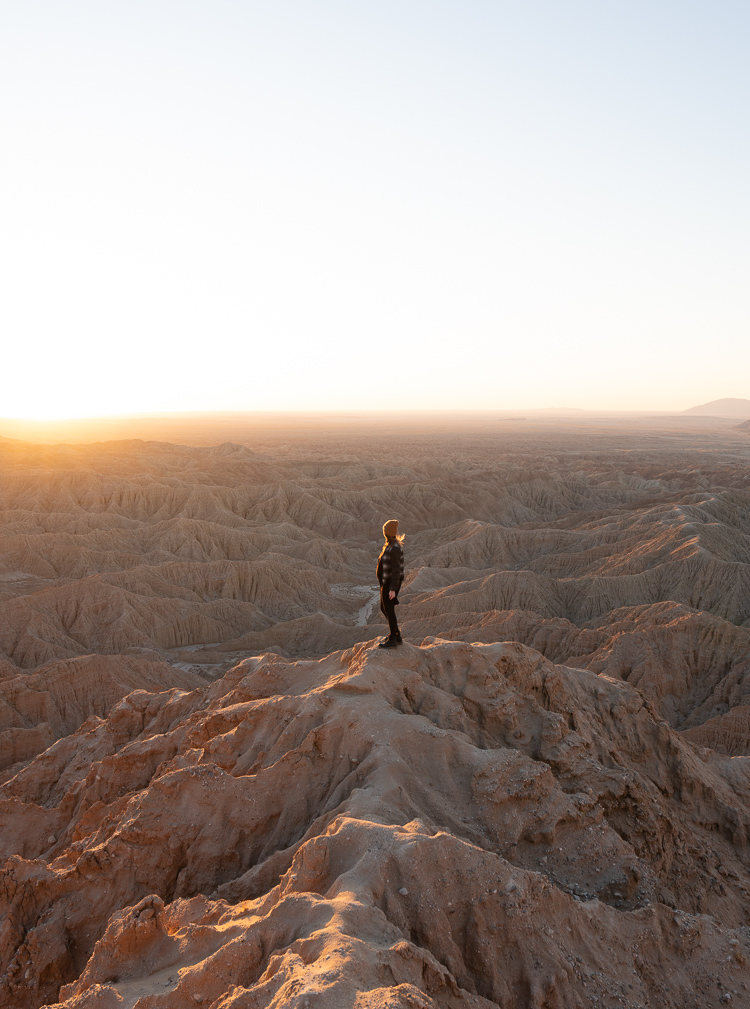
If you own a drone (I use the Mavic Air), that can be a great tool as well for selfies. It’s how we took this photo in 29 Palms:
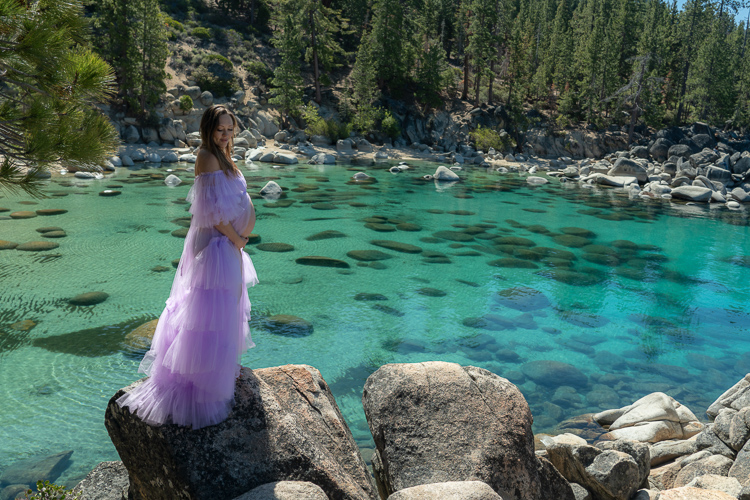
I also bought a tulle maternity gown for some of my photos. I searched far and wide to find a used one, but ultimately bought it new from Amazon and sold it to, of all people, a maternity photographer on Poshmark when I was done.
The Photoshoot(s)
I loved doing multiple maternity shoots all throughout my pregnancy. I’d usually plan my outfit and a specific time of day, but we would sometimes be spontaneous, too. Here’s what to know:
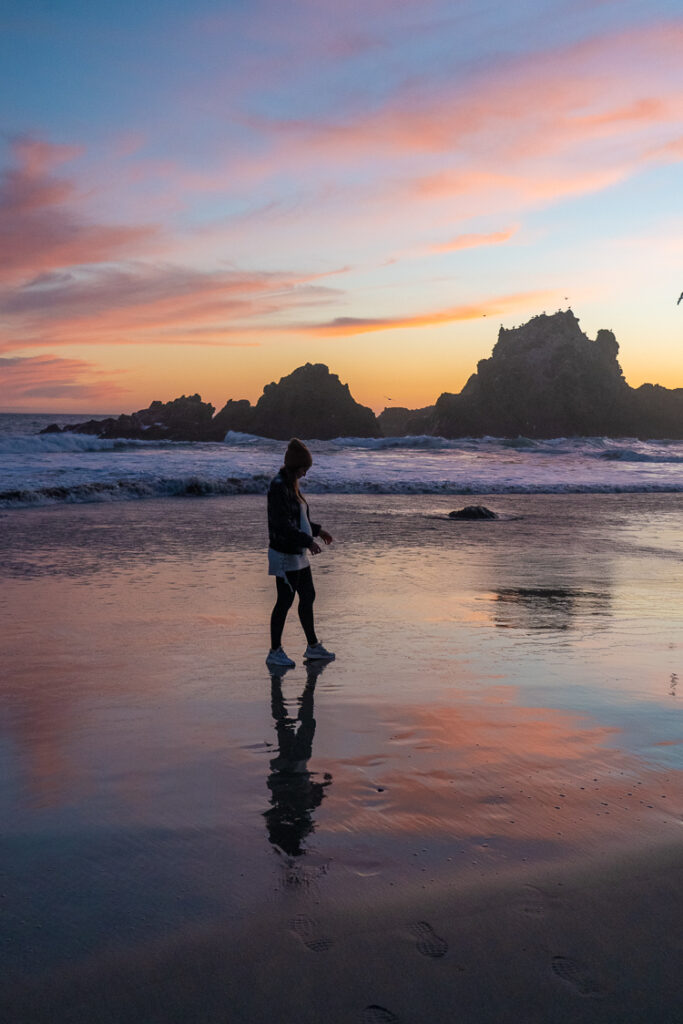
Time of Day Matters!
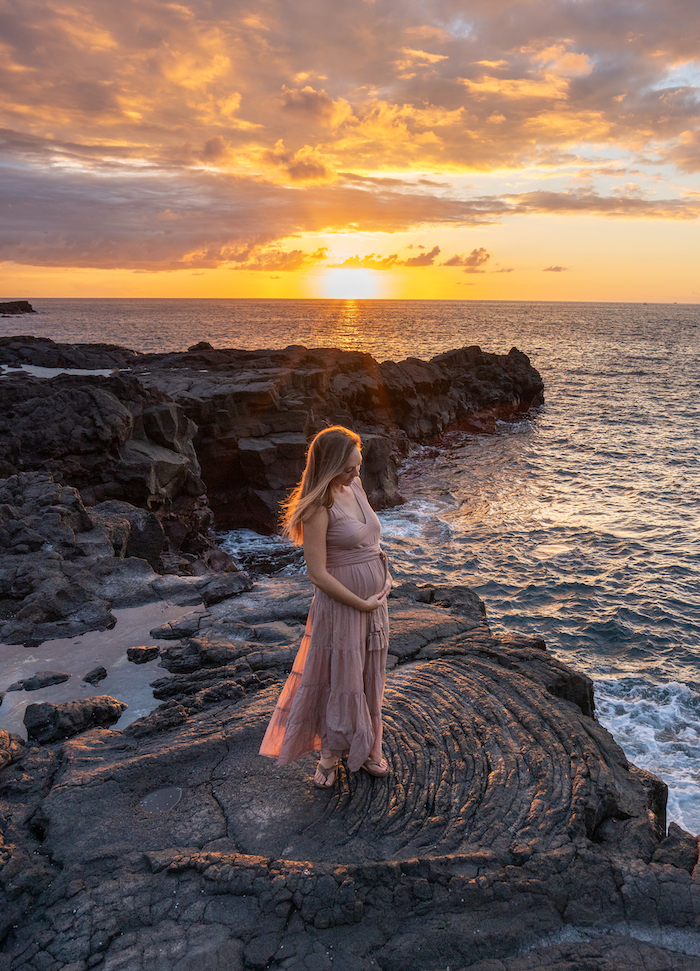
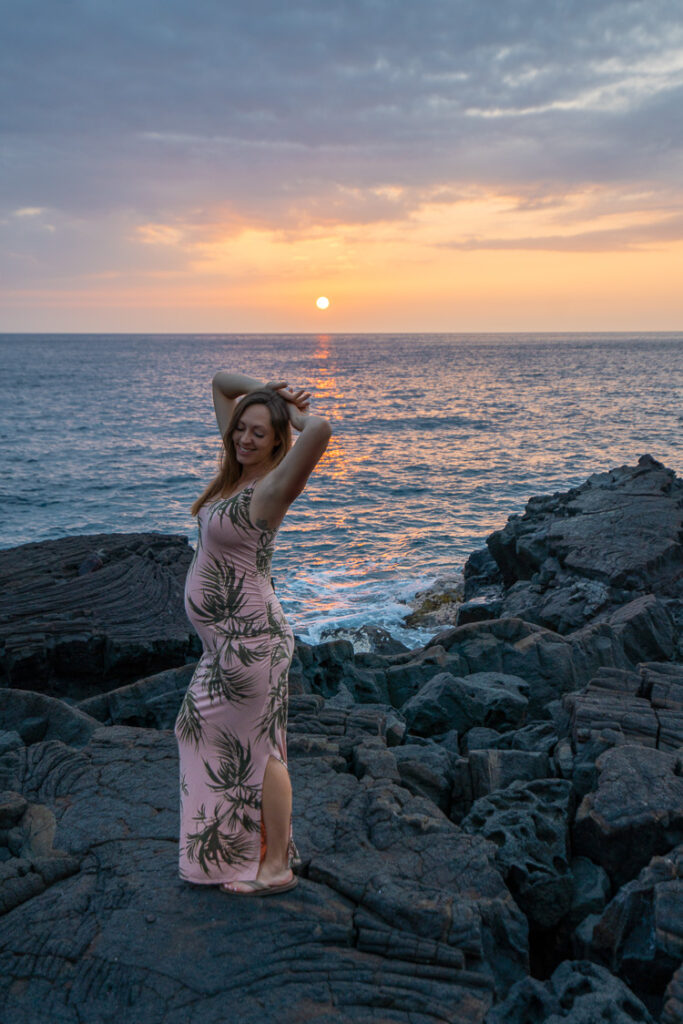
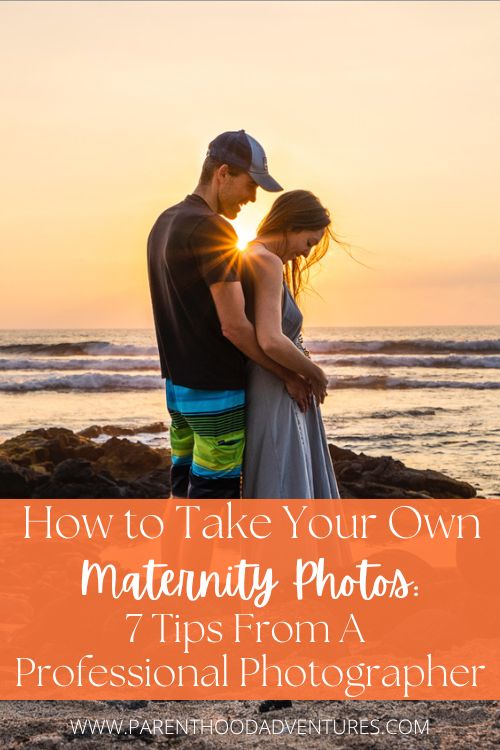
Have you ever noticed how the light looks perfect in pro photos? That’s no accident – it’s all about time of day. The best time to take photos is during golden hour, which is the hour before the sun sets (or after it rises), or right at sunset (or sunrise) if you want those beautiful colors. Not all sunsets are created equal, so you may need multiple attempts.
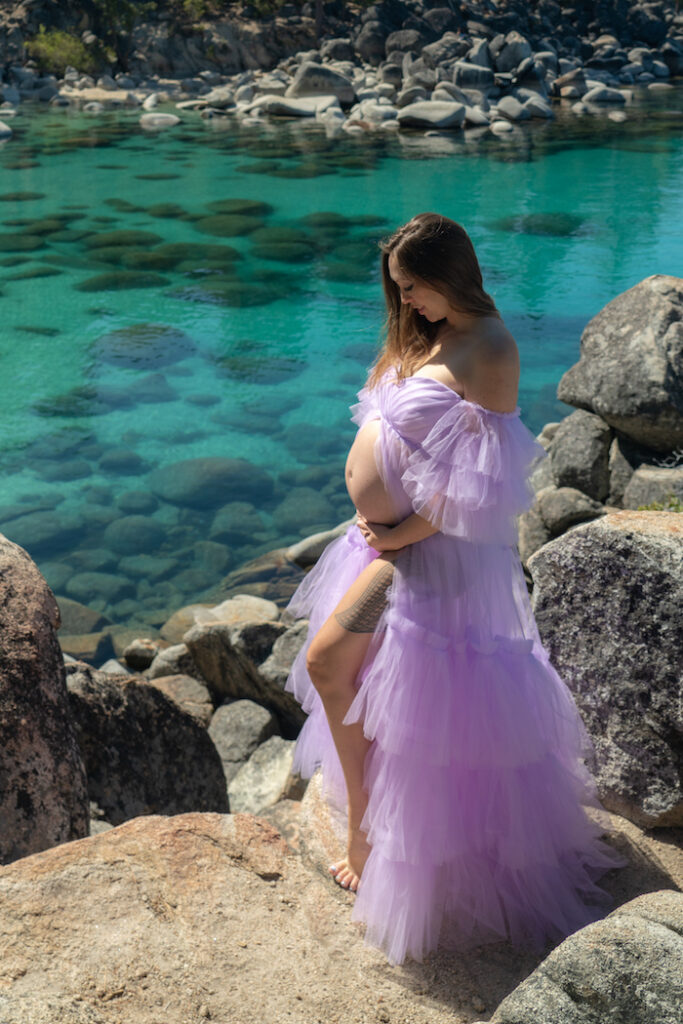
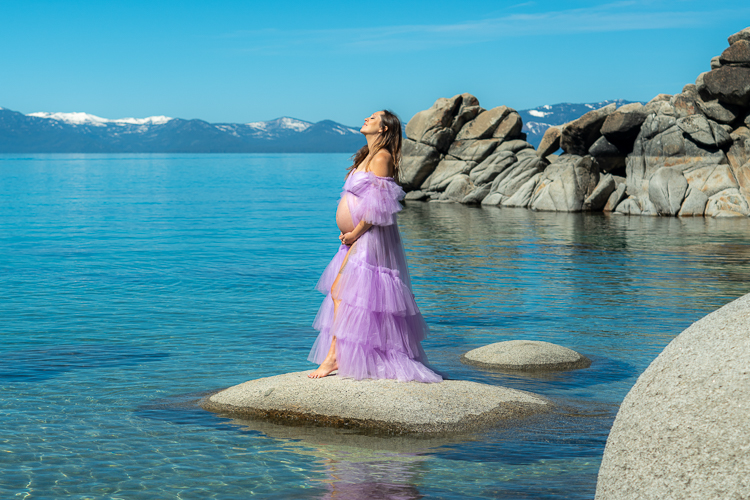
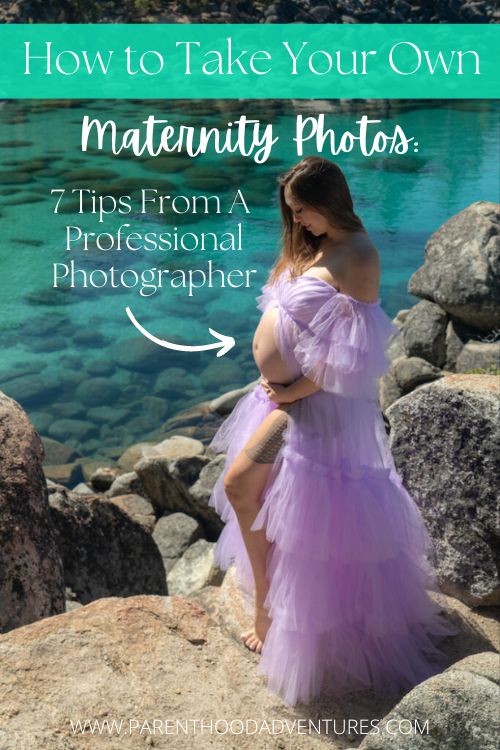
Almost every photo you see in this post was taken either at sunset or sunrise with the sun positioned behind me, with the exception of the Lake Tahoe photos. If it’s a colorful lake or ocean and you want it to be part of your backdrop, it’s best if a body of water is indirectly illuminated, which will probably be a couple hours after sunrise or just before sunset depending on the angle. For this, you will want the sun in front of rather than behind you.
Use an Intervalometer
If you’re taking these photos of yourself, you’ll want to set up the shot with your tripod, then set the intervalometer. This is the tool photographers use to take time-lapses, but I love utilizing it for solo photo shoots, too.
On my Sony, it’s a built-in function that allows me to choose how many photos to take and at what interval. If your camera lacks the functionality, you can buy an intervalometer. Just make sure it’s compatible with your camera and learn how to use it before you go.
I usually set it for every 2-3 seconds and strike different poses, come back and make sure I like what I’ve taken, and usually repeat 2-3x. Remember that professional models get hundreds of shots in a shoot, so don’t feel weird about taking your time, reviewing what you’ve shot, and re-shooting to get it right.
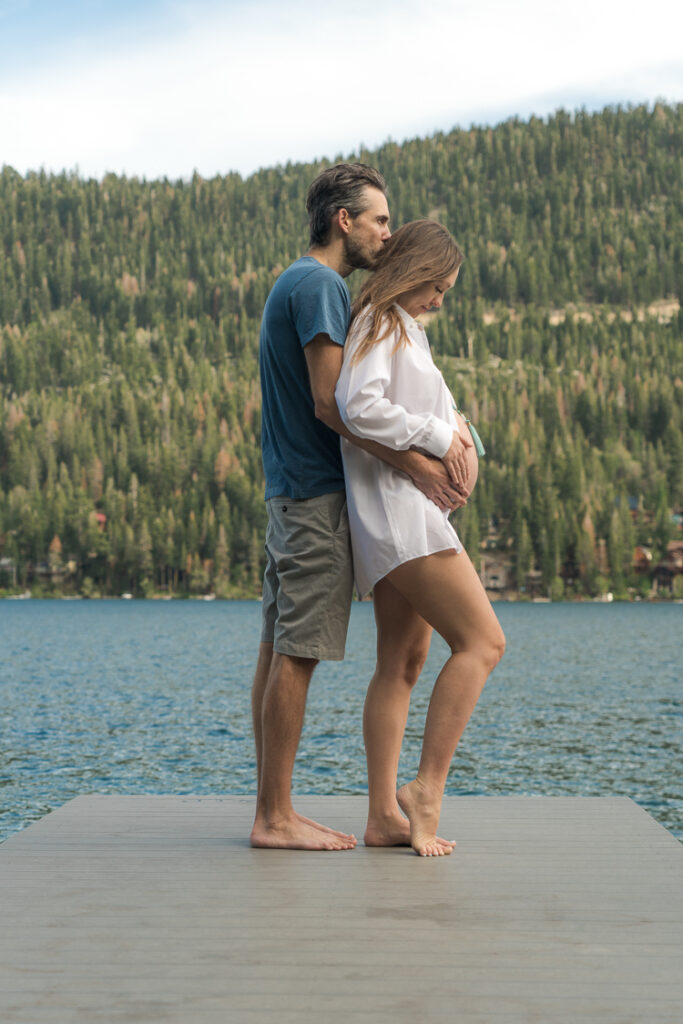
Involve your Partner (or a Friend)
If I’m solo in the photo, I ask my partner to take it for me. People often tell me their photos turn out terribly because the person helping them has no idea what they’re doing, but you can make all the difference here!
I’m lucky that Garrett is a great photographer, but if your partner or friend isn’t, go ahead and take a few test shots yourself, show them exactly where and how to hold the camera, and show them what you’ve photographed so they know what you want. You can also ask them to stand exactly where you plan to stand so they can see themselves in the photo and get a sense of what you want. Even though Garrett is skilled, we still do it this way most of the time. Repeat as often as necessary.
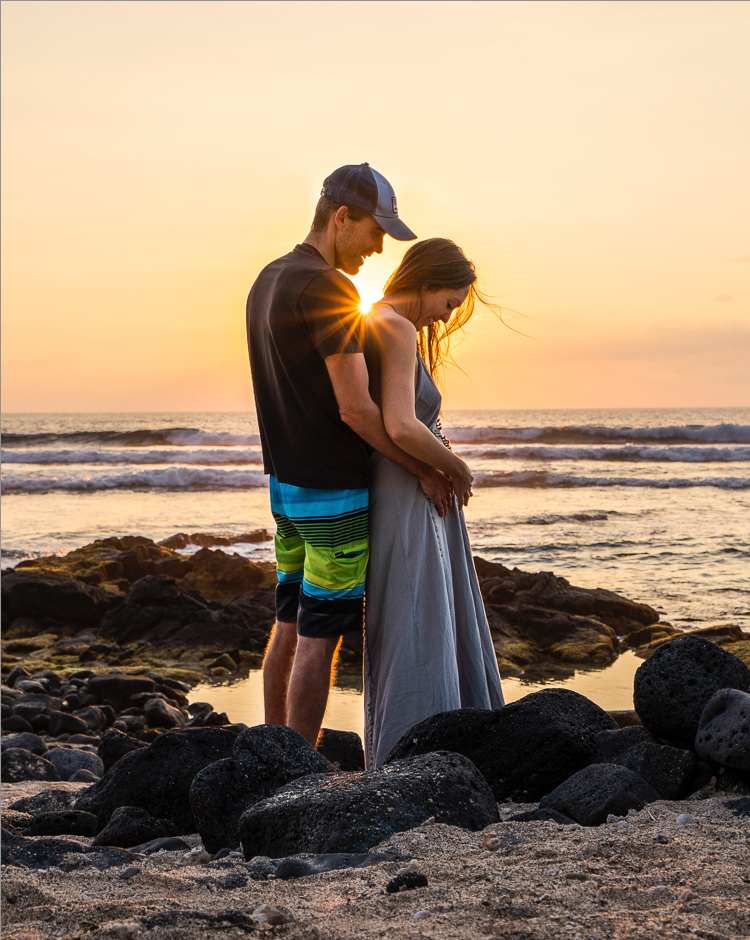
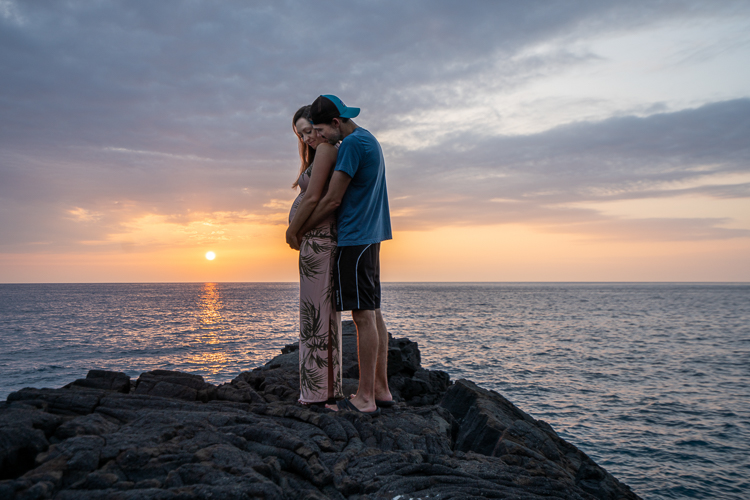
It’s also wonderful to have your partner, if you have one, in the shot with you. I didn’t have my tripod that day in the photos above, so I just balanced my camera on the lava rocks.
Manually Focus
This is a bit more advanced and requires understanding of aperture, but I like to shoot at a narrow aperture, which makes me the star of the photo with a slightly out of focus background.
To get this right, it’s best if you manually focus rather than letting the camera do it for you. If you’re shooting solo, I usually place an object where I’m going to stand and focus on that, or if you’re with a friend or partner who isn’t great at focusing, you can have them stand in your place, focus yourself, then swap spots and have them take the photos. Make sure you review before leaving to make sure you’re totally in focus. The narrower the aperture and the farther you are from the camera, the harder the focus will be to get right.
Be Your Own Hype Woman
The toughest part of taking photos, whether it’s you as the photographer or a professional, can often be feeling comfortable in front of the camera. Just know it takes practice, and there’s nothing wrong with spending lots of time on your photo shoot, and going back and doing it again if you’re not in love with the result.
I like to tell myself I’m a queen in my head, and strike as many poses as I want. Plenty of them come out looking weird, especially when I triple-chin looking down at my belly, but all we need are a few winners!
Finally, please don’t worry about random people witnessing your photo shoot. They don’t care, and you’ll probably never see them again anyway.
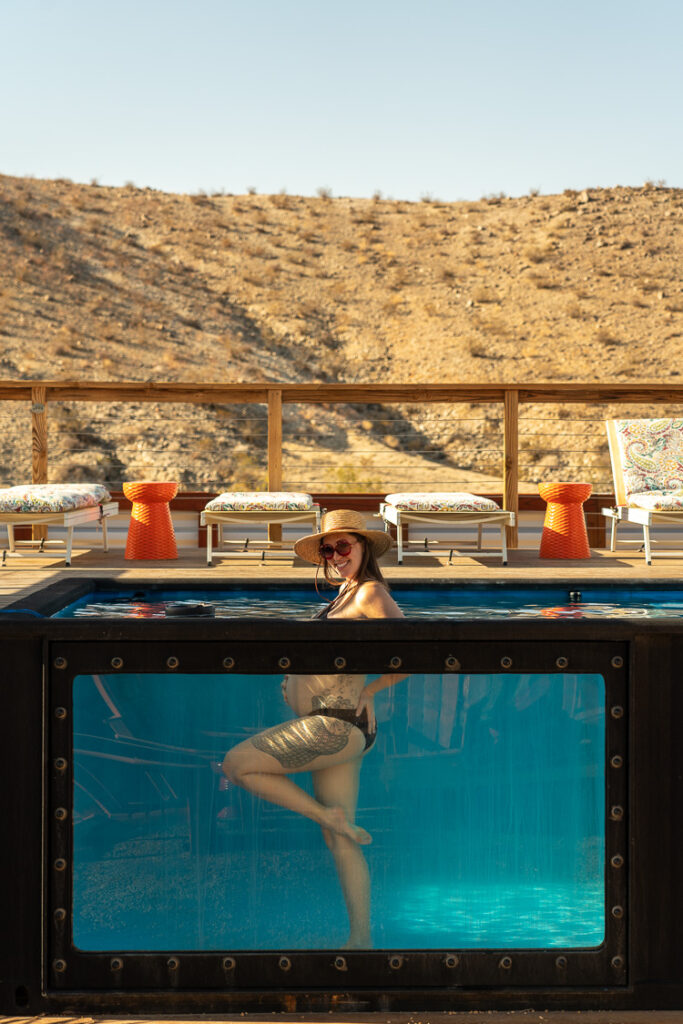
Be Spontaneous
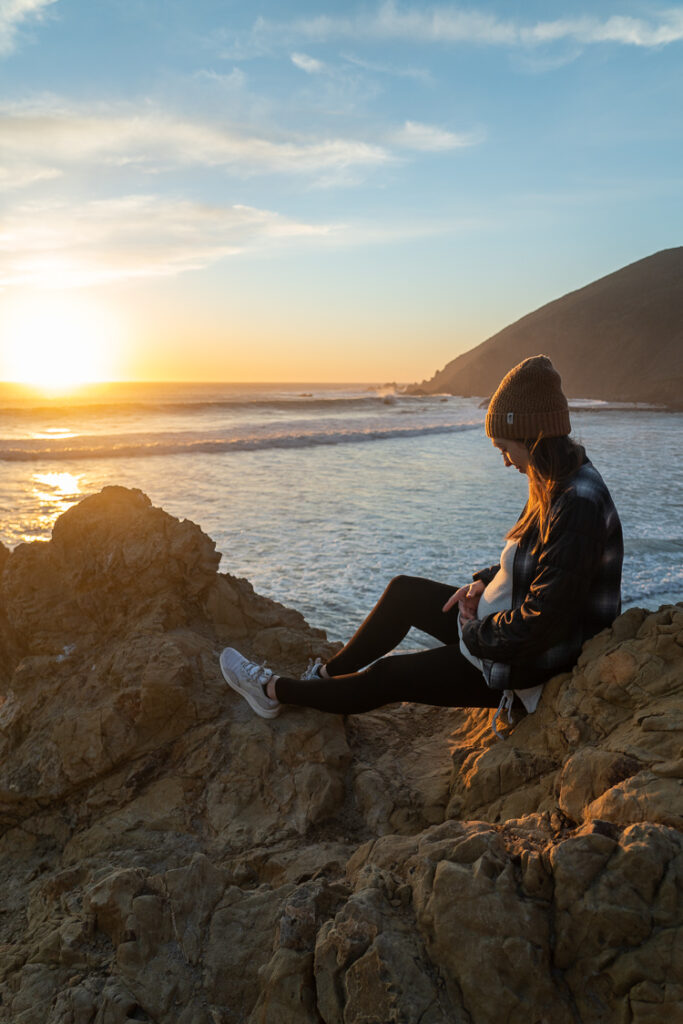
Not every maternity shoot has to be planned out meticulously in advance. If you’re enjoying a babymoon, or even just an afternoon out, and the perfect sunset is unfolding, take out the camera and go for it! If all you have is your phone, go for it anyway!
In the photos above, I didn’t intend to make this a maternity shoot, but I loved how the photos turned out regardless.
It’s All in the Edit
Although some photos look amazing straight out of the camera, for 90% of photos, the real beauty tends to come out in the edit. This is where your personality and style shine.
I love Lightroom for editing my photos. It’s the software almost all of your favorite photographers are using. It’s user-friendly and with a few YouTube tutorials, you can be in business.
That said, it comes at a cost, and you can always experiment with their free phone app before you buy to see if that’s good enough.
Pin me for later:
Although taking your own photos may feel a bit daunting, it’s given me control over how they turn out, given me the ability to create my own style, and empowered me to take my family’s photos as well through the months since my son’s birth. I’m confident in my abilities to capture each milestone myself, without having to book a crazy expensive photo shoot, because I’ve practiced so much.
So give it a try, have fun with it, and if you’re not in love with what you photograph, you can always book a shoot with a professional photographer as a backup plan!